Installation
Django 1.10 Windows Installation Setup.
Prerequisite Software
Before going forward it is necessary to download and install python version 3.7 for Django 1.10.
Note: 3.7 is Highly Recommendation for Django 1.10 higher than that version will work only with new version of Django.
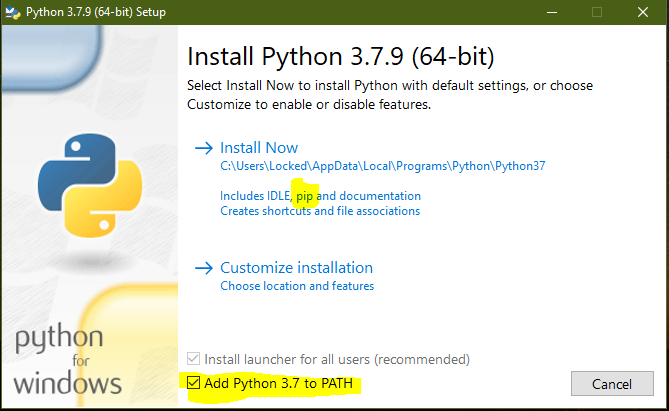
Check the above Image where Two selection are necessary for Django Setup.
- PIP
- Add Python 3.7 to PATH
I am using Vs-Code for the time being it is the best choice so far but you are free to choose any other alternatives like Atom, Notepad++(WIN), etc. Remember you can choose any version of VS-Code for current time being.
Django Installation Steps.
First we will Check which Python Version we are working to see it in effect we will use below command.

Than we will Install virtualenvwrapper a tool which i use or should be used while creating Django projects for more info please check Django Docs or Google. As you can see in below image i already have installed virtualenvwrapper before so it will not install it again.

Now let us Create Virtual Environment for our project for first time

After creating virtual environment we can see that our virtual environment has been added in front of the shell that confirms that our environment is working.

Now we will Install Django 1.10 Version. For that we will use below command. This command will install Django into Our Virtual Environment.

For starting any work We’ll Switch My Location to another drive so that we can create as many project we need.

After switching location we will Create Project With Django-Admin command.

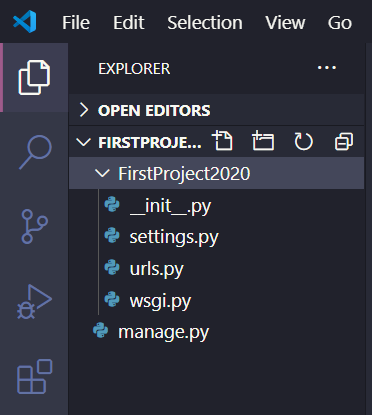
Now we’ll open Above Created Directory into VS-Code.
Now Click on Any Python File in the Project. That will let VS-Code to select Python Environment for Our Created Virtual Environment. Than Click on Python Version. See it in below image.

You’ll be thinking why we are doing this but this is important for selecting our environment by python.
When you Click on Python Version VS-Code will let you choose Interpreter path for my environment.
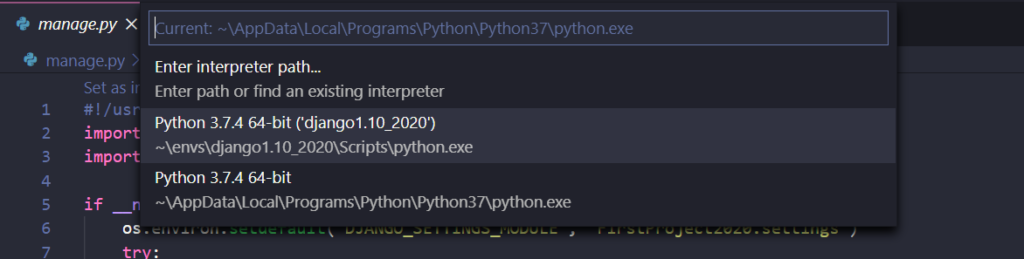
We’ll Select Environment we created. And than one prompt will appear for Linter to install for that environment. Click Install.

After that you can check by running your project
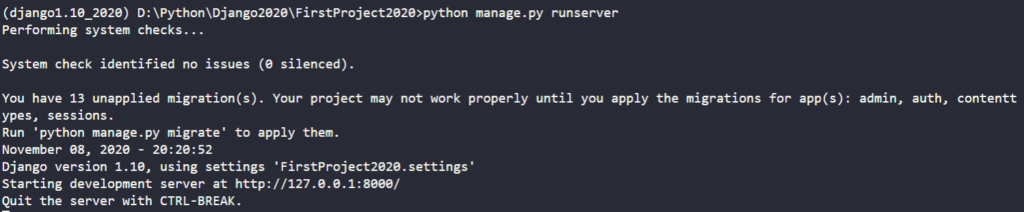
Check the above created link into browser to see it’s working.

And That’s It for Installation of Django 1.10 Version Setup for Windows.

Leave a comment
Thank you for sharing this details.